
How to Install an eSIM on Android
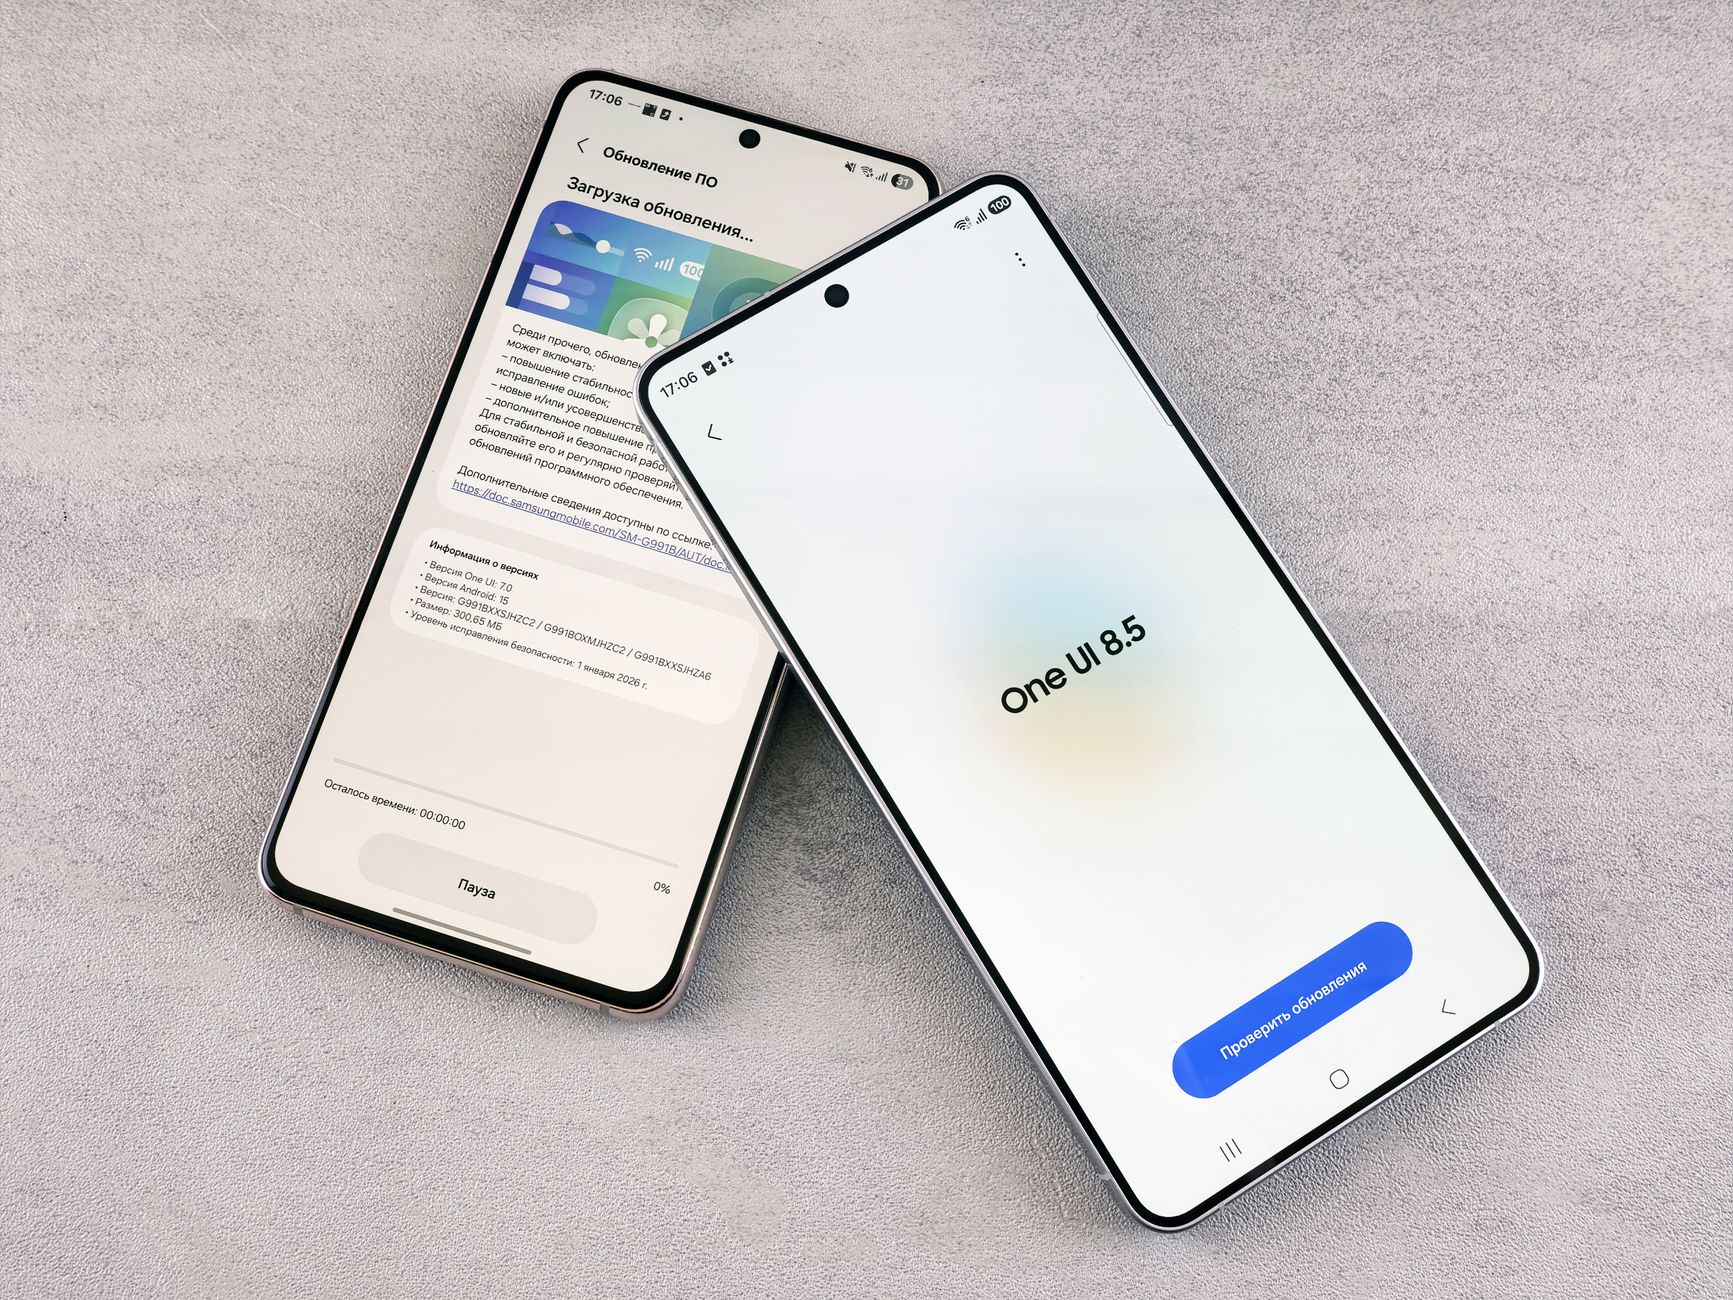
Android eSIM setup is slightly more fragmented than iPhone because every manufacturer does the menu slightly differently. The underlying process is identical - scan QR code, download profile, activate - but getting to the right screen takes different taps depending on your phone.
Samsung Galaxy
Settings → Connections → SIM Manager → Add eSIM. Tap "Scan QR code from service provider" and you're off. Samsung devices from the S20 onwards handle this well. The S23 and S24 series can run two active lines simultaneously - a physical SIM and an eSIM at the same time, which is proper dual-SIM functionality.
After installation, go back to SIM Manager and set your preferred SIM for mobile data. Tap the eSIM, then enable "Mobile data." If you're keeping a physical SIM for calls, you can set each line for a specific purpose.
Google Pixel
Settings → Network & Internet → SIMs → Add SIM. Pixel phones are the most straightforward Android implementation - Google designed the eSIM flow themselves so it's clean. Pixel 3 and later all support it.
One quirk: on some Pixel models, the option shows as "Download a SIM instead?" when you first open the SIM settings. Tap that. Then scan your QR code.
Other Android phones
Most modern flagships follow a similar path. OnePlus: Settings → Wi-Fi & Network → SIM & Network Management. Motorola: Settings → Network & internet → Mobile network → Advanced → Carrier. Xiaomi: Settings → SIM cards & mobile networks → Add eSIM.
If you can't find it, search "eSIM" in your phone's Settings search bar. Almost always brings it up immediately.
Check eSIM compatibility first
Not all Android phones support eSIM, even flagships. And carrier-locked devices sometimes have eSIM disabled. The quickest check: dial *#06# on your Android. If you see an EID number in the results (a long numeric string separate from your IMEI), your phone has eSIM capability. No EID means no eSIM.
See the full eSIM compatible phones list if you want to check before buying.
Common issues
Profile won't download: You need mobile data or Wi-Fi active. Can't activate eSIM on Wi-Fi alone on some older Android versions - try switching to mobile data if you have a physical SIM active.
"Not supported" error: Usually means your device is carrier-locked to a network that hasn't enabled eSIM. Contact your current carrier to unlock the device first.
Two eSIM profiles conflict: Android devices typically only activate one eSIM profile at a time (Samsung dual-SIM devices being the exception). If you've installed a new profile and the old one isn't working, check which profile is set as active in SIM Manager.
Dual SIM with eSIM on Android
The Samsung Galaxy S series is the gold standard here. You can run a physical nano-SIM (your home number) and an eSIM (local travel data) simultaneously. No swapping, no choosing. Calls come through on your regular number, data routes through the cheaper local plan.
That setup alone can save you a lot on a two-week trip compared to international roaming rates. The dual SIM guide covers the configuration in more detail.